
Office Hours Announcement of Webhooks
How To Set Up (Part 1)
What Is A Webhook:
Plain English: A Web Address That You Can Push (Send) Information To.
How Does It Work?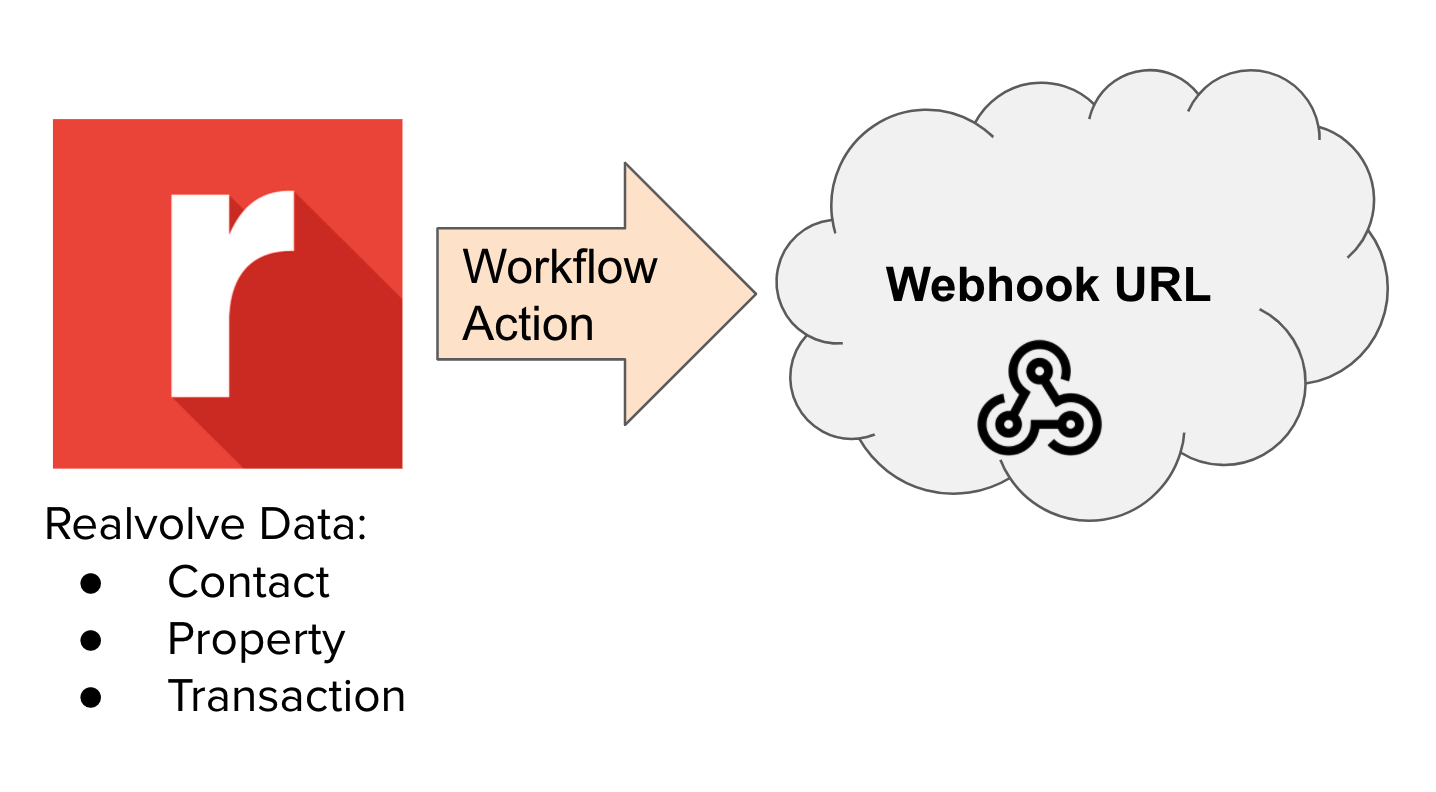
How Can It Help Me As An Agent?
-
Send "HandWrytten" Cards - After Closing, Just Before Birthdays & Anniversaries
- HandWrytten.com
- Update Office Status Board with Listing / Closed Information
- Update A Slack Channel That A New Listing Is Live
- Update Your Team When A Transaction Closes
- Add/Update A Trello Board With Status Information
- Create A Facebook Post When A New Property Is Available
- Automatically Fill Contract Fields With Realvolve Transaction Data And Send It!
- Send Commission Information To QuickBooks
- SO MUCH MORE…
How To Set Up (Part 1)
- Copy a Webhook URL from the Service (Example: Zapier). SEE ZAPIER SETUP Section Below
- Add an ACTION to a Workflow Activity
- Open the Webhook section
- Paste the URL in the field.
- Save
How To Set Up (Part 2)
- Start The Workflow
- Complete > Run The Action (You must do this once before you can test the webhook trigger in zapier in order to get sample data showing and usable in the action side of the zap)
- Test Webhook Trigger (See Next Step)
ZAPIER SETUP
- Connect this app: Webhooks by Zapier
- When This Happens: Catch Hook
- With this one: Handwrytten
- Then Do This: Send Card
- Click [Try it]
- Copy The Custom Webhook URL provided by Zapier webhook
- Paste Into Action Webhook Field (See Image with Realvolve Webhook URL in Action)
- Click Continue
TEST TRIGGER
AFTER YOU HAVE STARTED THE REALVOLVE WORKFLOW ON A SAMPLE CONTACT, PROPERTY or TRANSACTION THEN YOU CAN CONTINUE TO THE NEXT SECTION TO TEST.
*Always run a test!
Did you complete PART 2 listed above?
If you DID then Click [Test Trigger] (Shown Below)
If you see an error then you didn't run the action or the URL you entered in the action wasn't correct - go back and check the Webhook URL
If everything is good then you should see a message "We found a request" and a list of fields (see below)
NOTE: Now you can setup the Zapier ACTION - For our example we are using the HANDWRYTTEN App but you can use any Zap that has an ACTION. Also note that this works for other webhook providers, not just Zapier.
Set Up Action for HandWrytten
- Select "Send Card" in the Action Event
- Click [Continue]
- Choose or Connect your HandWrytten Account
- Click [Continue]
Fill in all the required fields - pay attention to the field names - some fields are for the SENDER (your information) some fields are for the RECIPIENT (your contact sent using the webhook action in step 1)
Fill in the message of the card and use any of the step 1 (Webhook Data) as merge fields - for a complete list of merge fields see THIS link:
Once all the required fields are filled in then click [Continue]
The set up screen will then show a list of fields that were provided - click on [Test & Continue] to test send a card
TEST RESULTS
If everything tests correctly then you should see a message like "Test was successful" otherwise there may be missing fields that you need to correct and retest.
Click on the [Turn on Zap] and you are all set to go - From this point forward your Workflow Action will POST the webhook URL and send the data to the zap so the zap can send the selected data to the Action step of the zap... IS THAT COOL OR WHAT?
NOTE: Make sure you go to HandWrytten.com and cancel your TEST order if you do not wish to receive a sample.
Slides for this presentation: